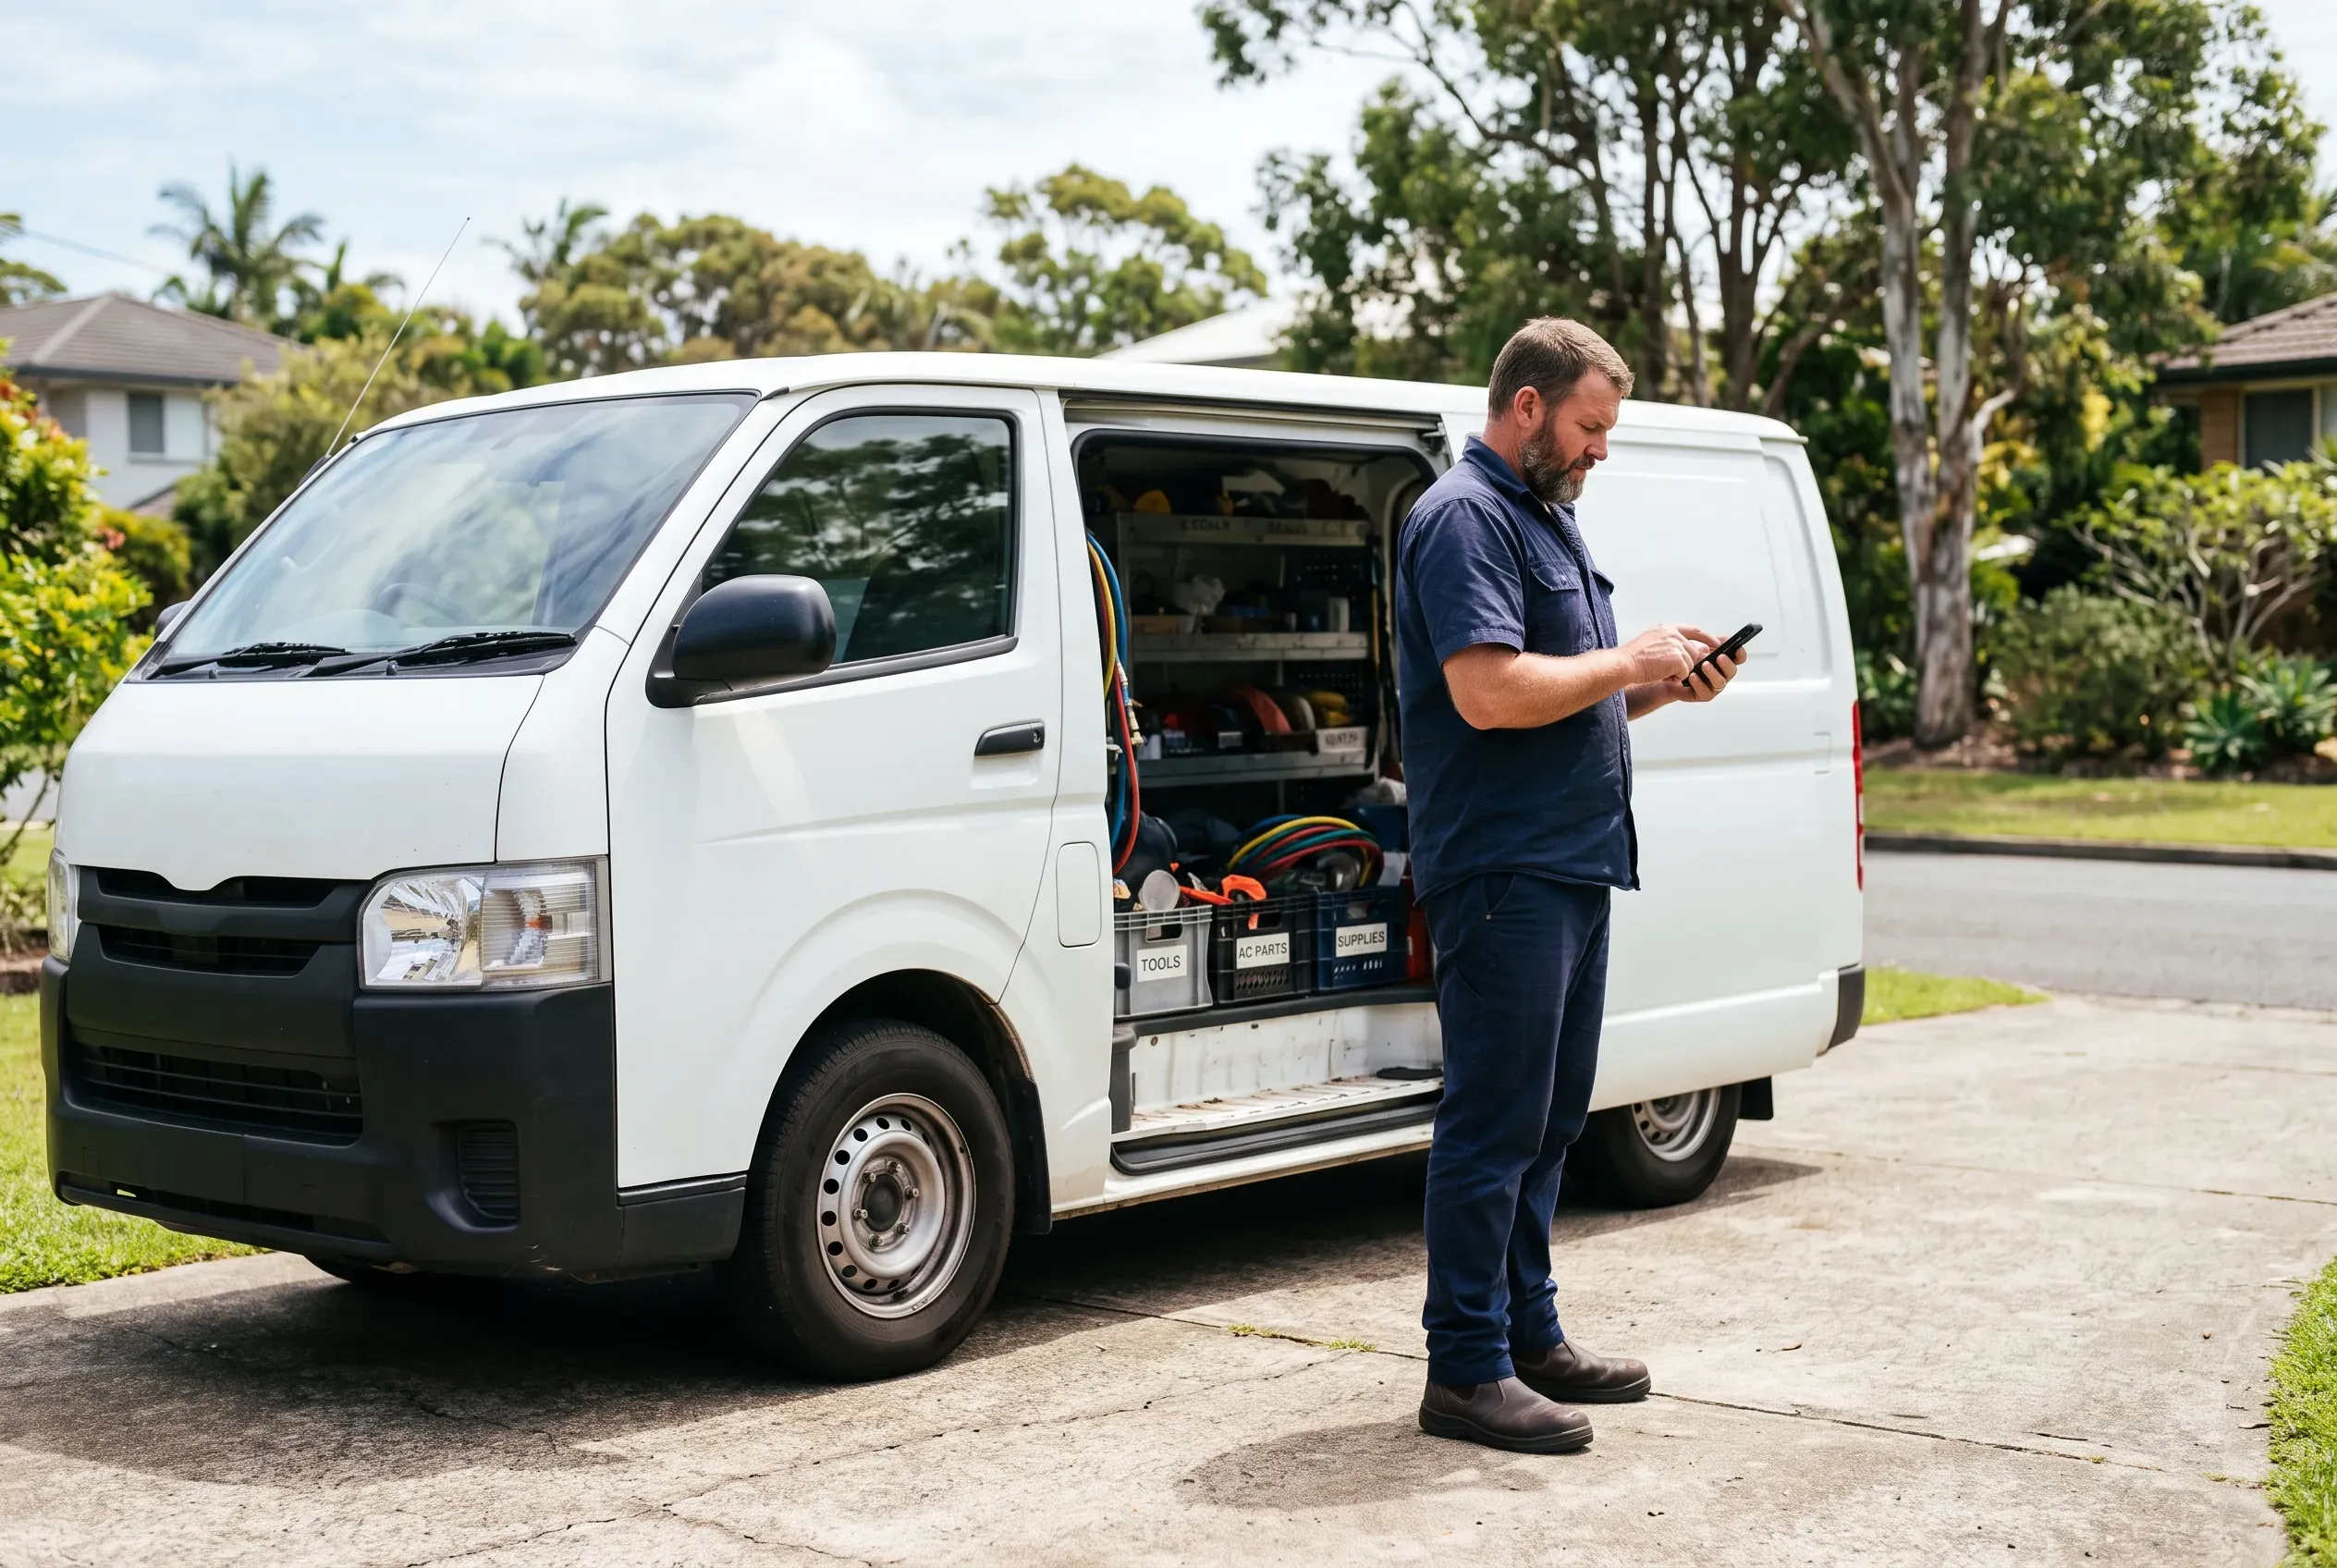
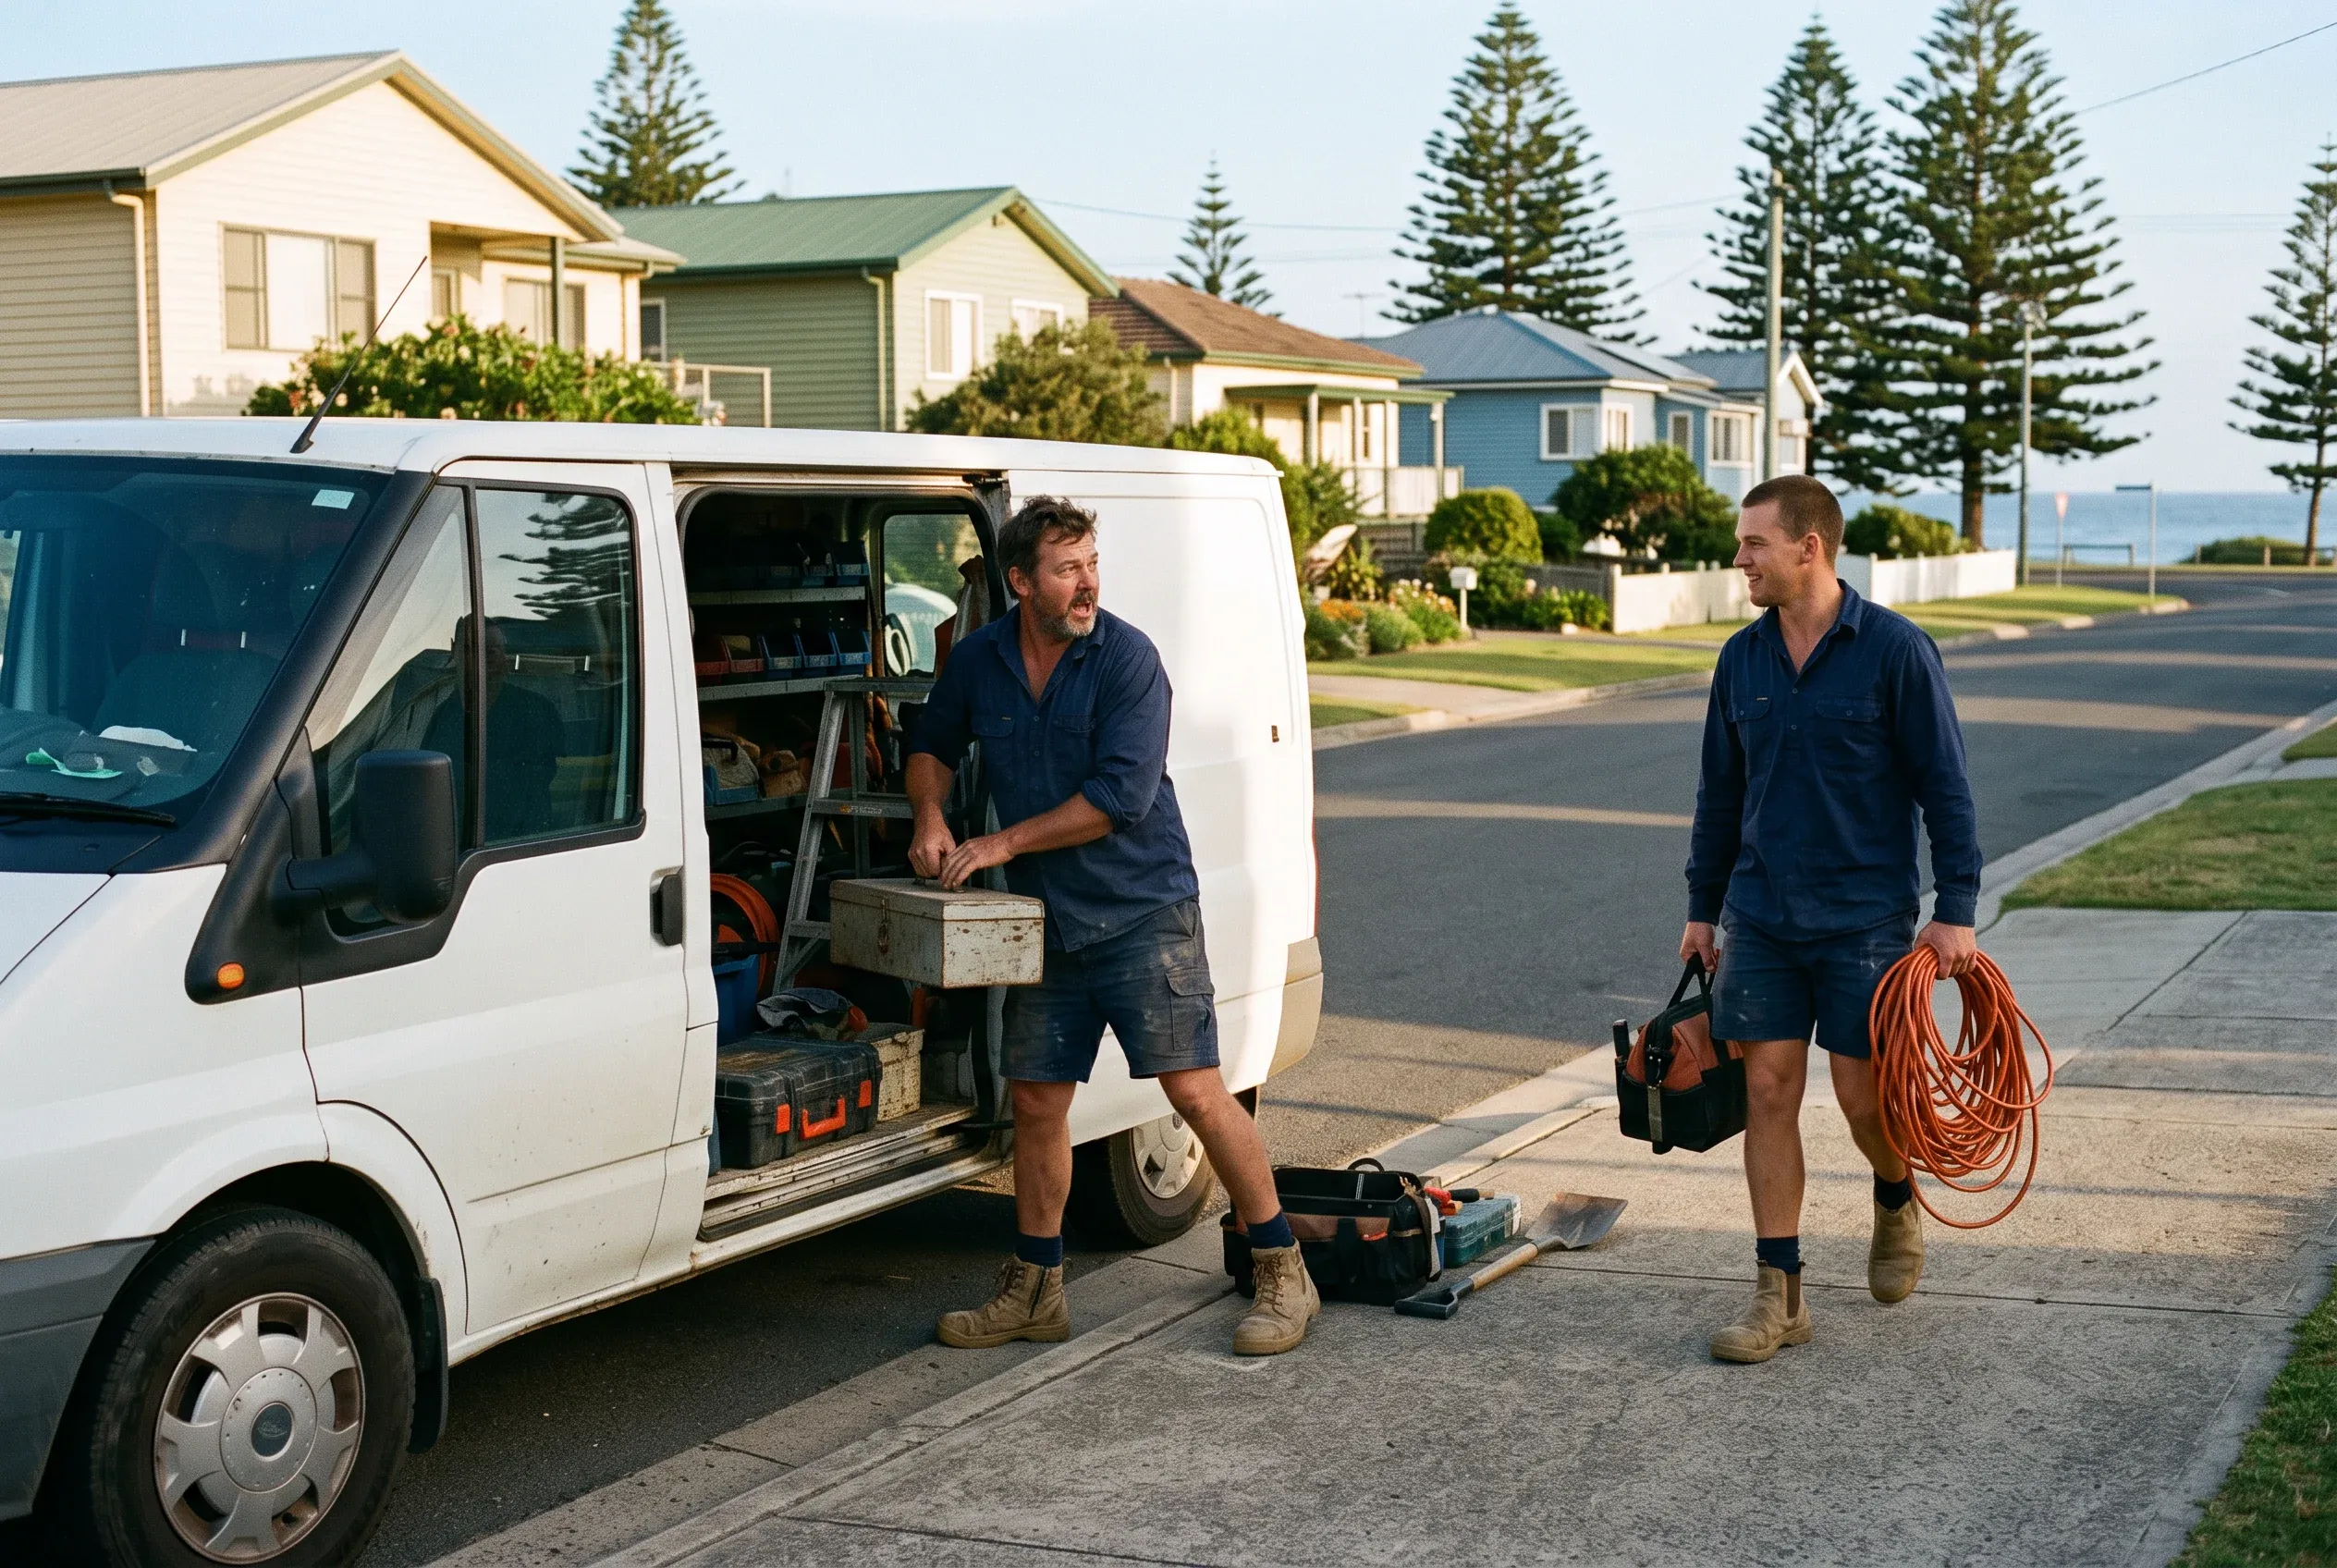
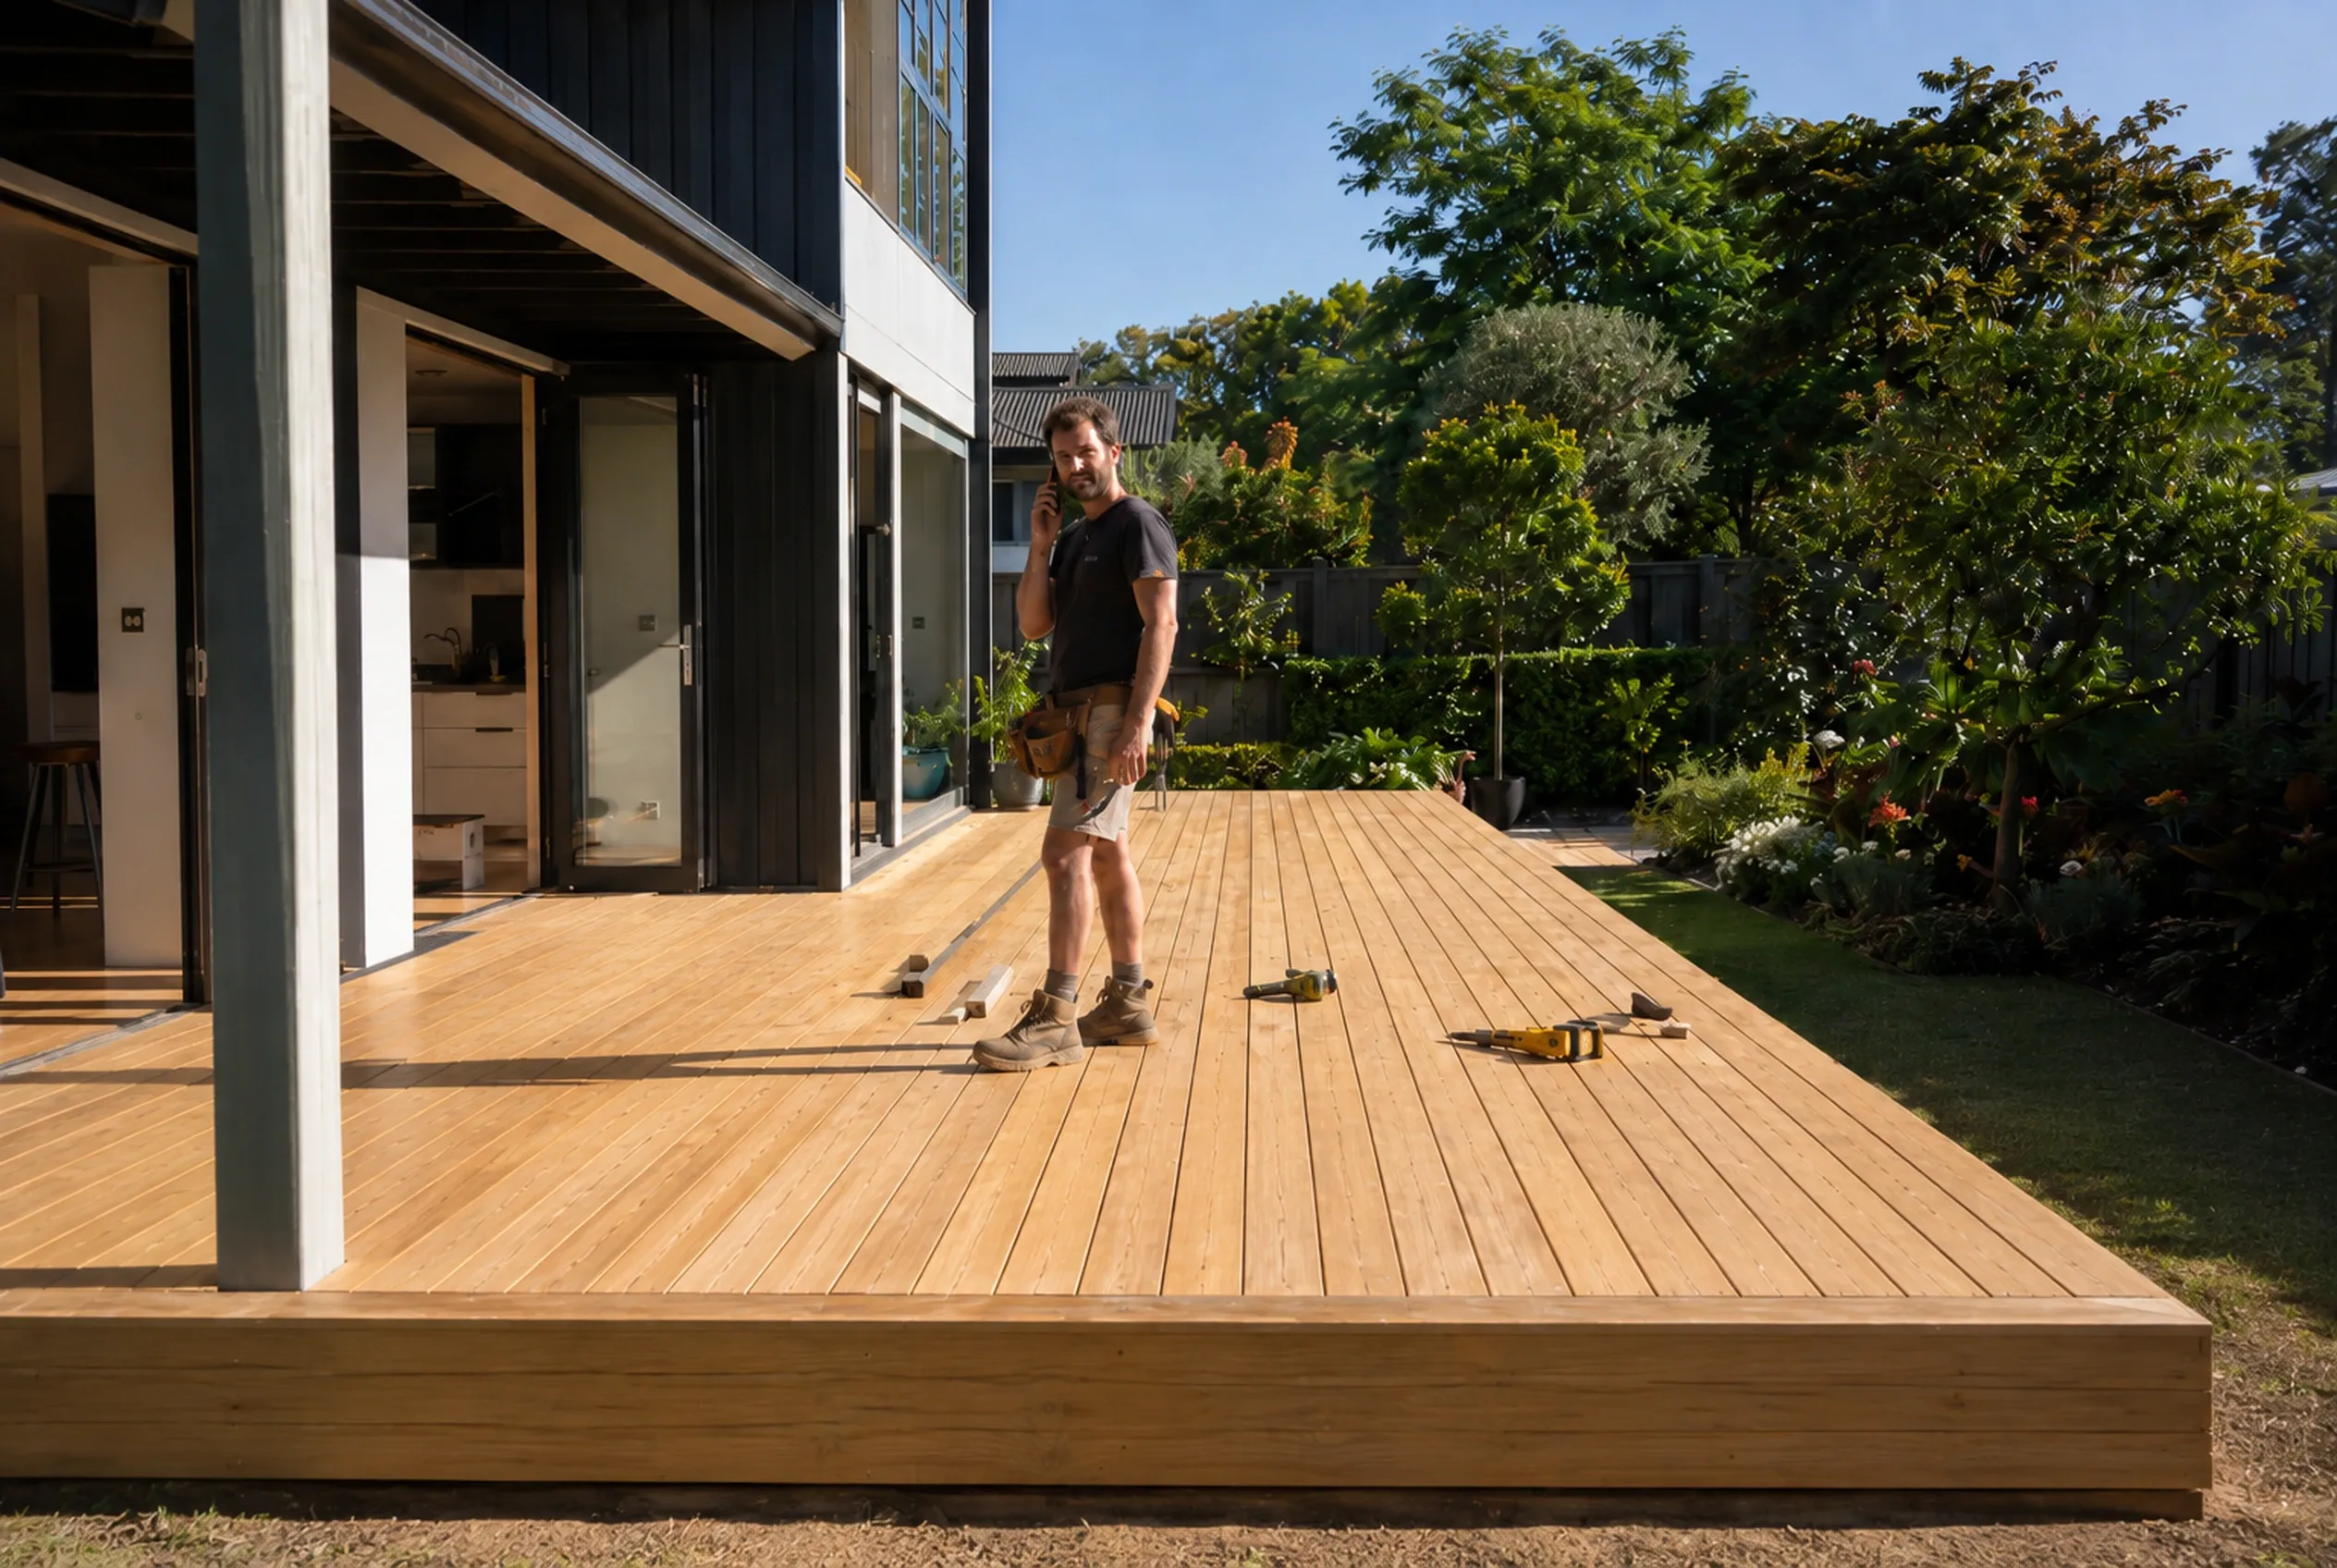
Architectural photography: a guide for builders and trades
How to commission photography that does your finished work justice: the shot list, real costs, who to hire, and what to agree before the day.
For a building or trade business, photography determines how finished work is judged by everyone who was never on site: clients researching before they call, award judges reviewing an entry, and anyone comparing tenders. Well-photographed projects keep working for the business for years. Poorly photographed ones disappear from view the day the keys are handed over.
This guide covers what to commission and when, what a shoot costs in Australia, how to choose and brief a photographer, the licensing and permissions to sort early, and the photography a business should handle itself between shoots.
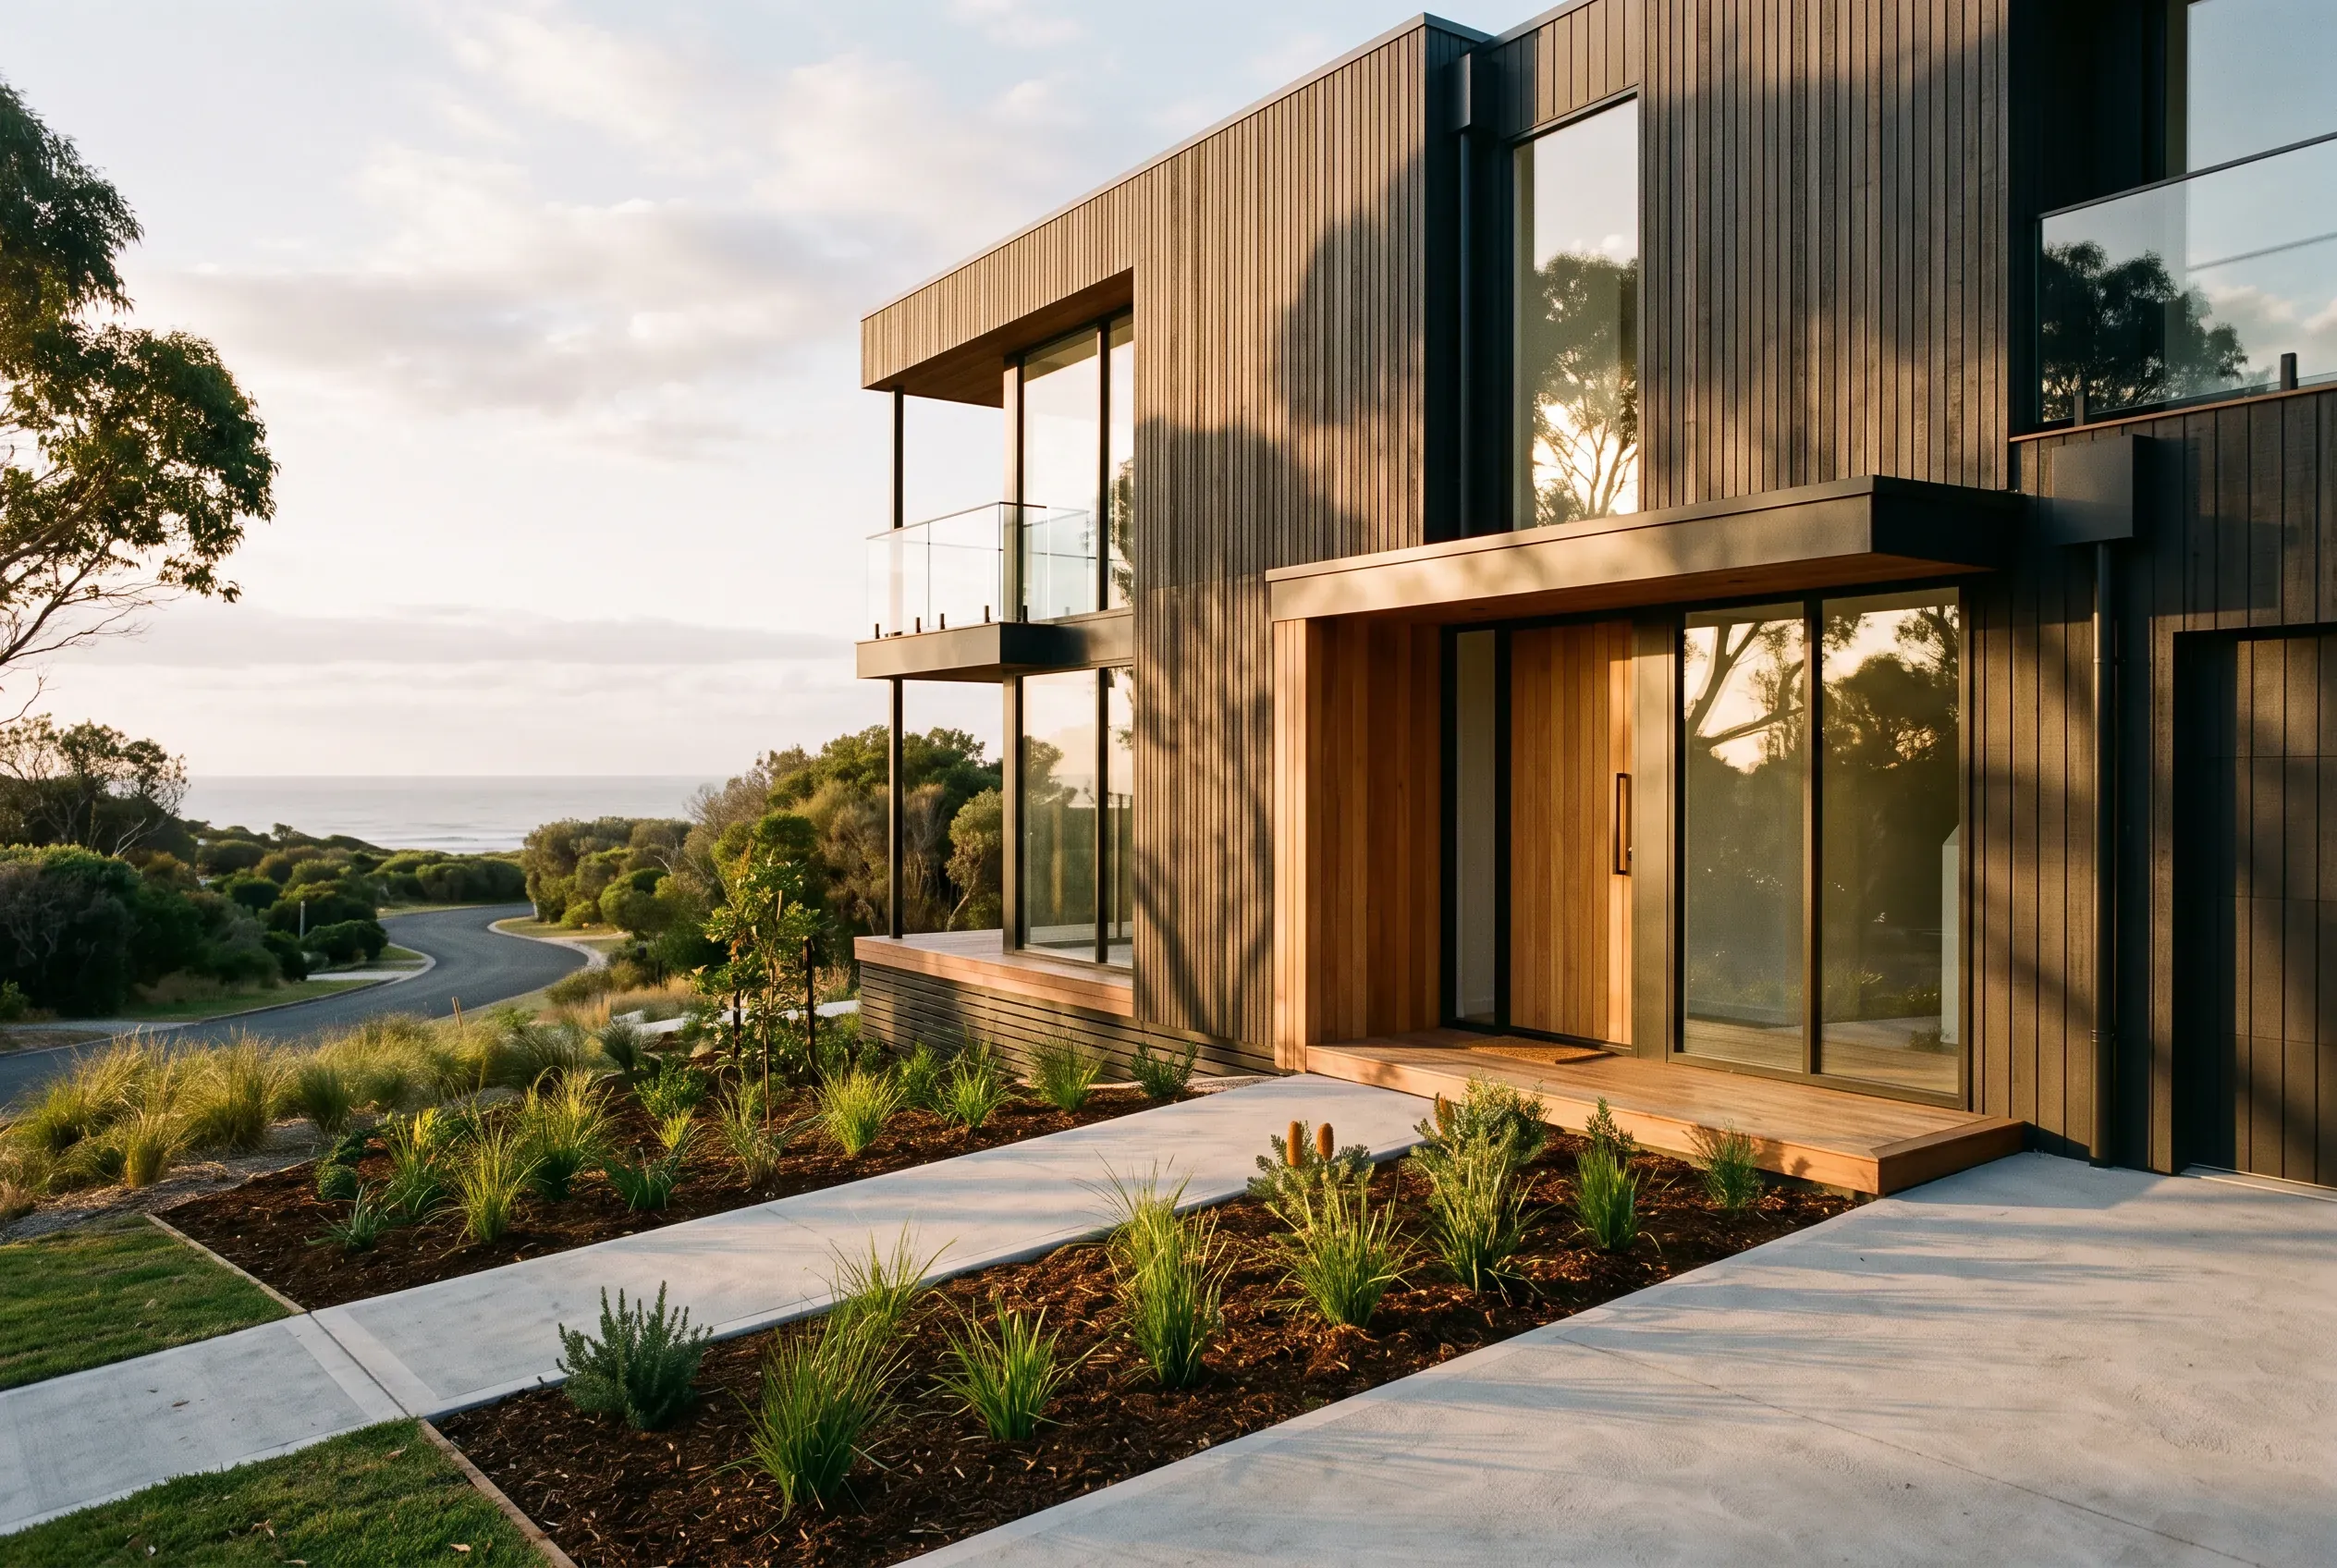
Why photography matters
Project photography carries more of a builder’s marketing than any other single asset:
- Client enquiries. Most clients shortlist builders from websites and social media before making contact, and whether a business makes that shortlist often comes down to the photography.
- Award entries. Entries to programs such as the HIA awards and the Master Builders excellence awards lean heavily on submitted photography, and most programs set technical requirements for it. Strong images give a well-built project the presentation it deserves.
- Tenders and proposals. Recent, comparable, well-photographed work strengthens any submission, particularly at short notice.
- Social media. A completed-project set provides weeks of content, and progress photography fills the gaps between projects.
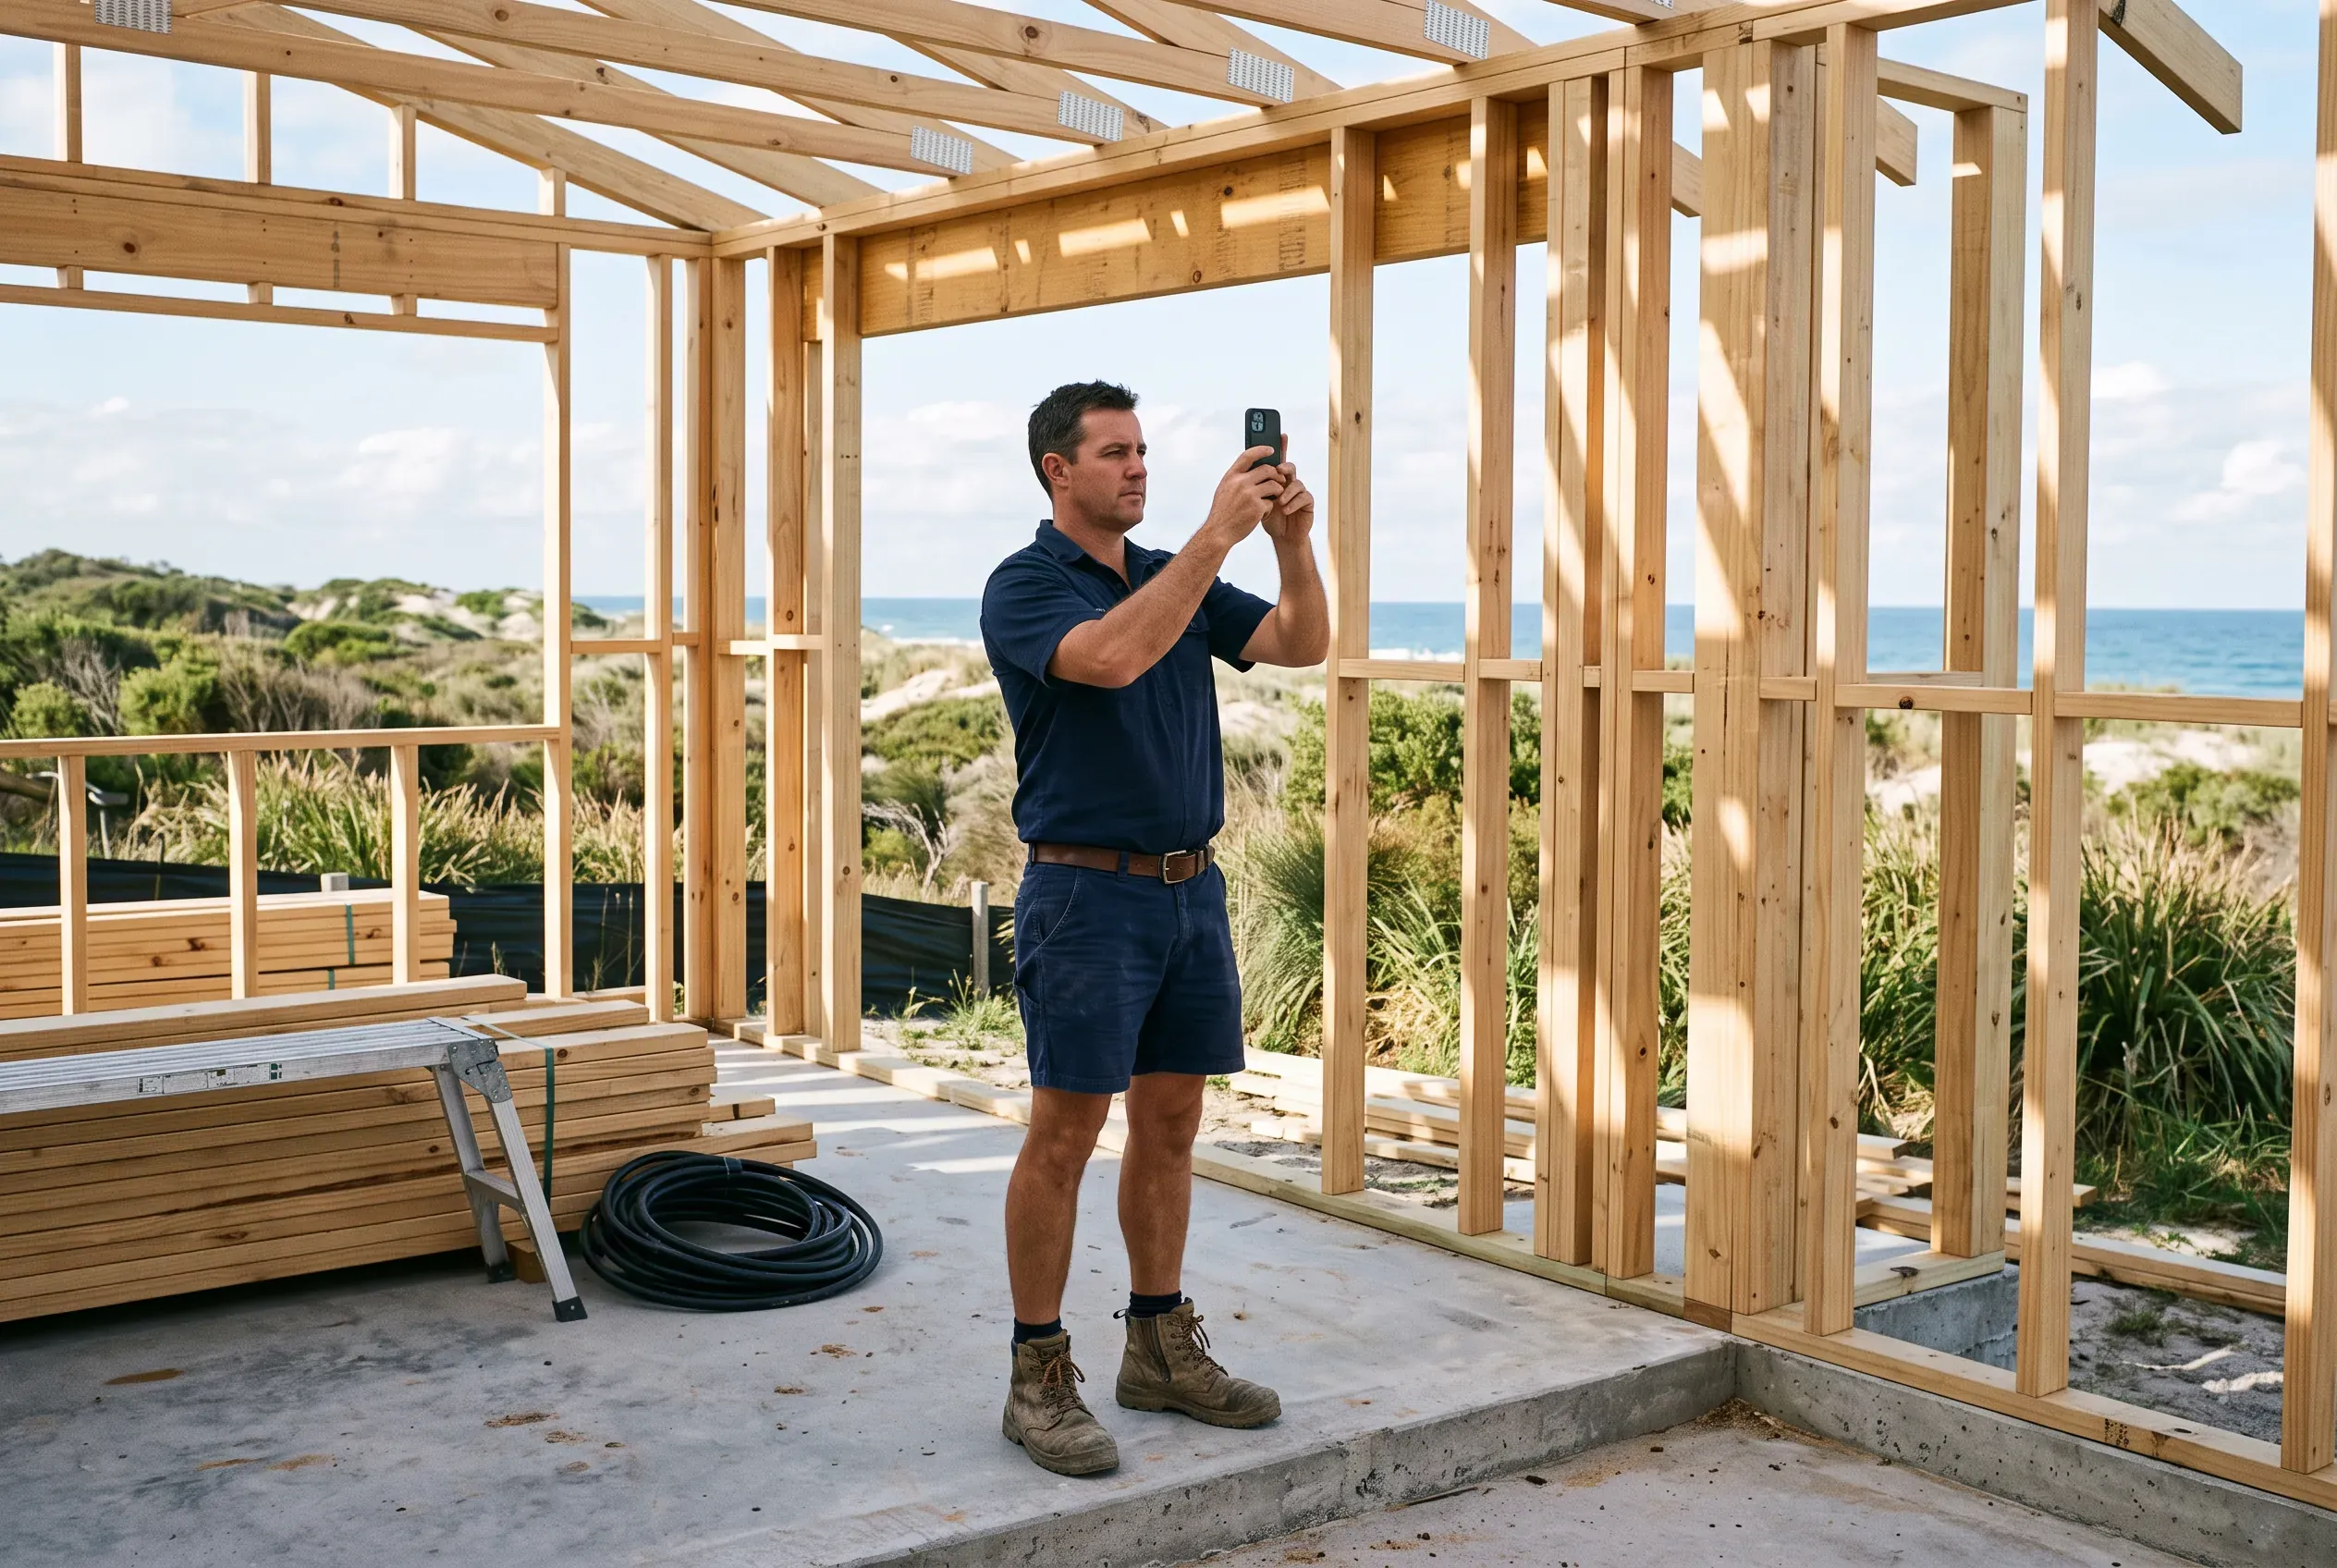
- Records. Progress photography doubles as documentation of what is behind the linings, which matters if a warranty or insurance question comes up years later.
A photography library also compounds. Each professionally shot project adds to a body of work that supports every one of the uses above, which is why the habit of shooting every project matters more than any single shoot.
The types of shoot
What to photograph: the shot list
Adjust this list to the project and include it with the brief. It exists so nothing gets missed, not to cap what gets shot; a good photographer will add to it on the day.
Exteriors
- Front of the house from the street, straight on and from an angle
- Back of the house and the outdoor living areas
- The entry
- The house in its setting: garden, street, and the view if there is one
- Pool and surrounds
- Aerials, where the block or setting justifies them
Interiors
- Kitchen, usually the most examined room in any set
- Main living areas, shot for space and natural light
- Main bedroom and ensuite
- Bathrooms
- The indoor-outdoor connection: living areas opening to deck or alfresco
- Stairs, hallways and voids where they are a feature
Details
- Joinery and cabinetry
- Stone, tile and timber up close
- Tapware, hardware and light fittings
- Ceiling details and shadow lines
- Specialist finishes: polished concrete, feature walls, curved work
When to photograph
Book the photographer as part of finishing the build, on the same list as the final clean and the handover pack. Even when the shoot itself happens later, booking it as a completion task is what stops it slipping; photography left for a quiet week usually ends up as a catch-up shoot across several years of projects.
The timing of the shoot itself is a decision to make with the photographer, project by project:
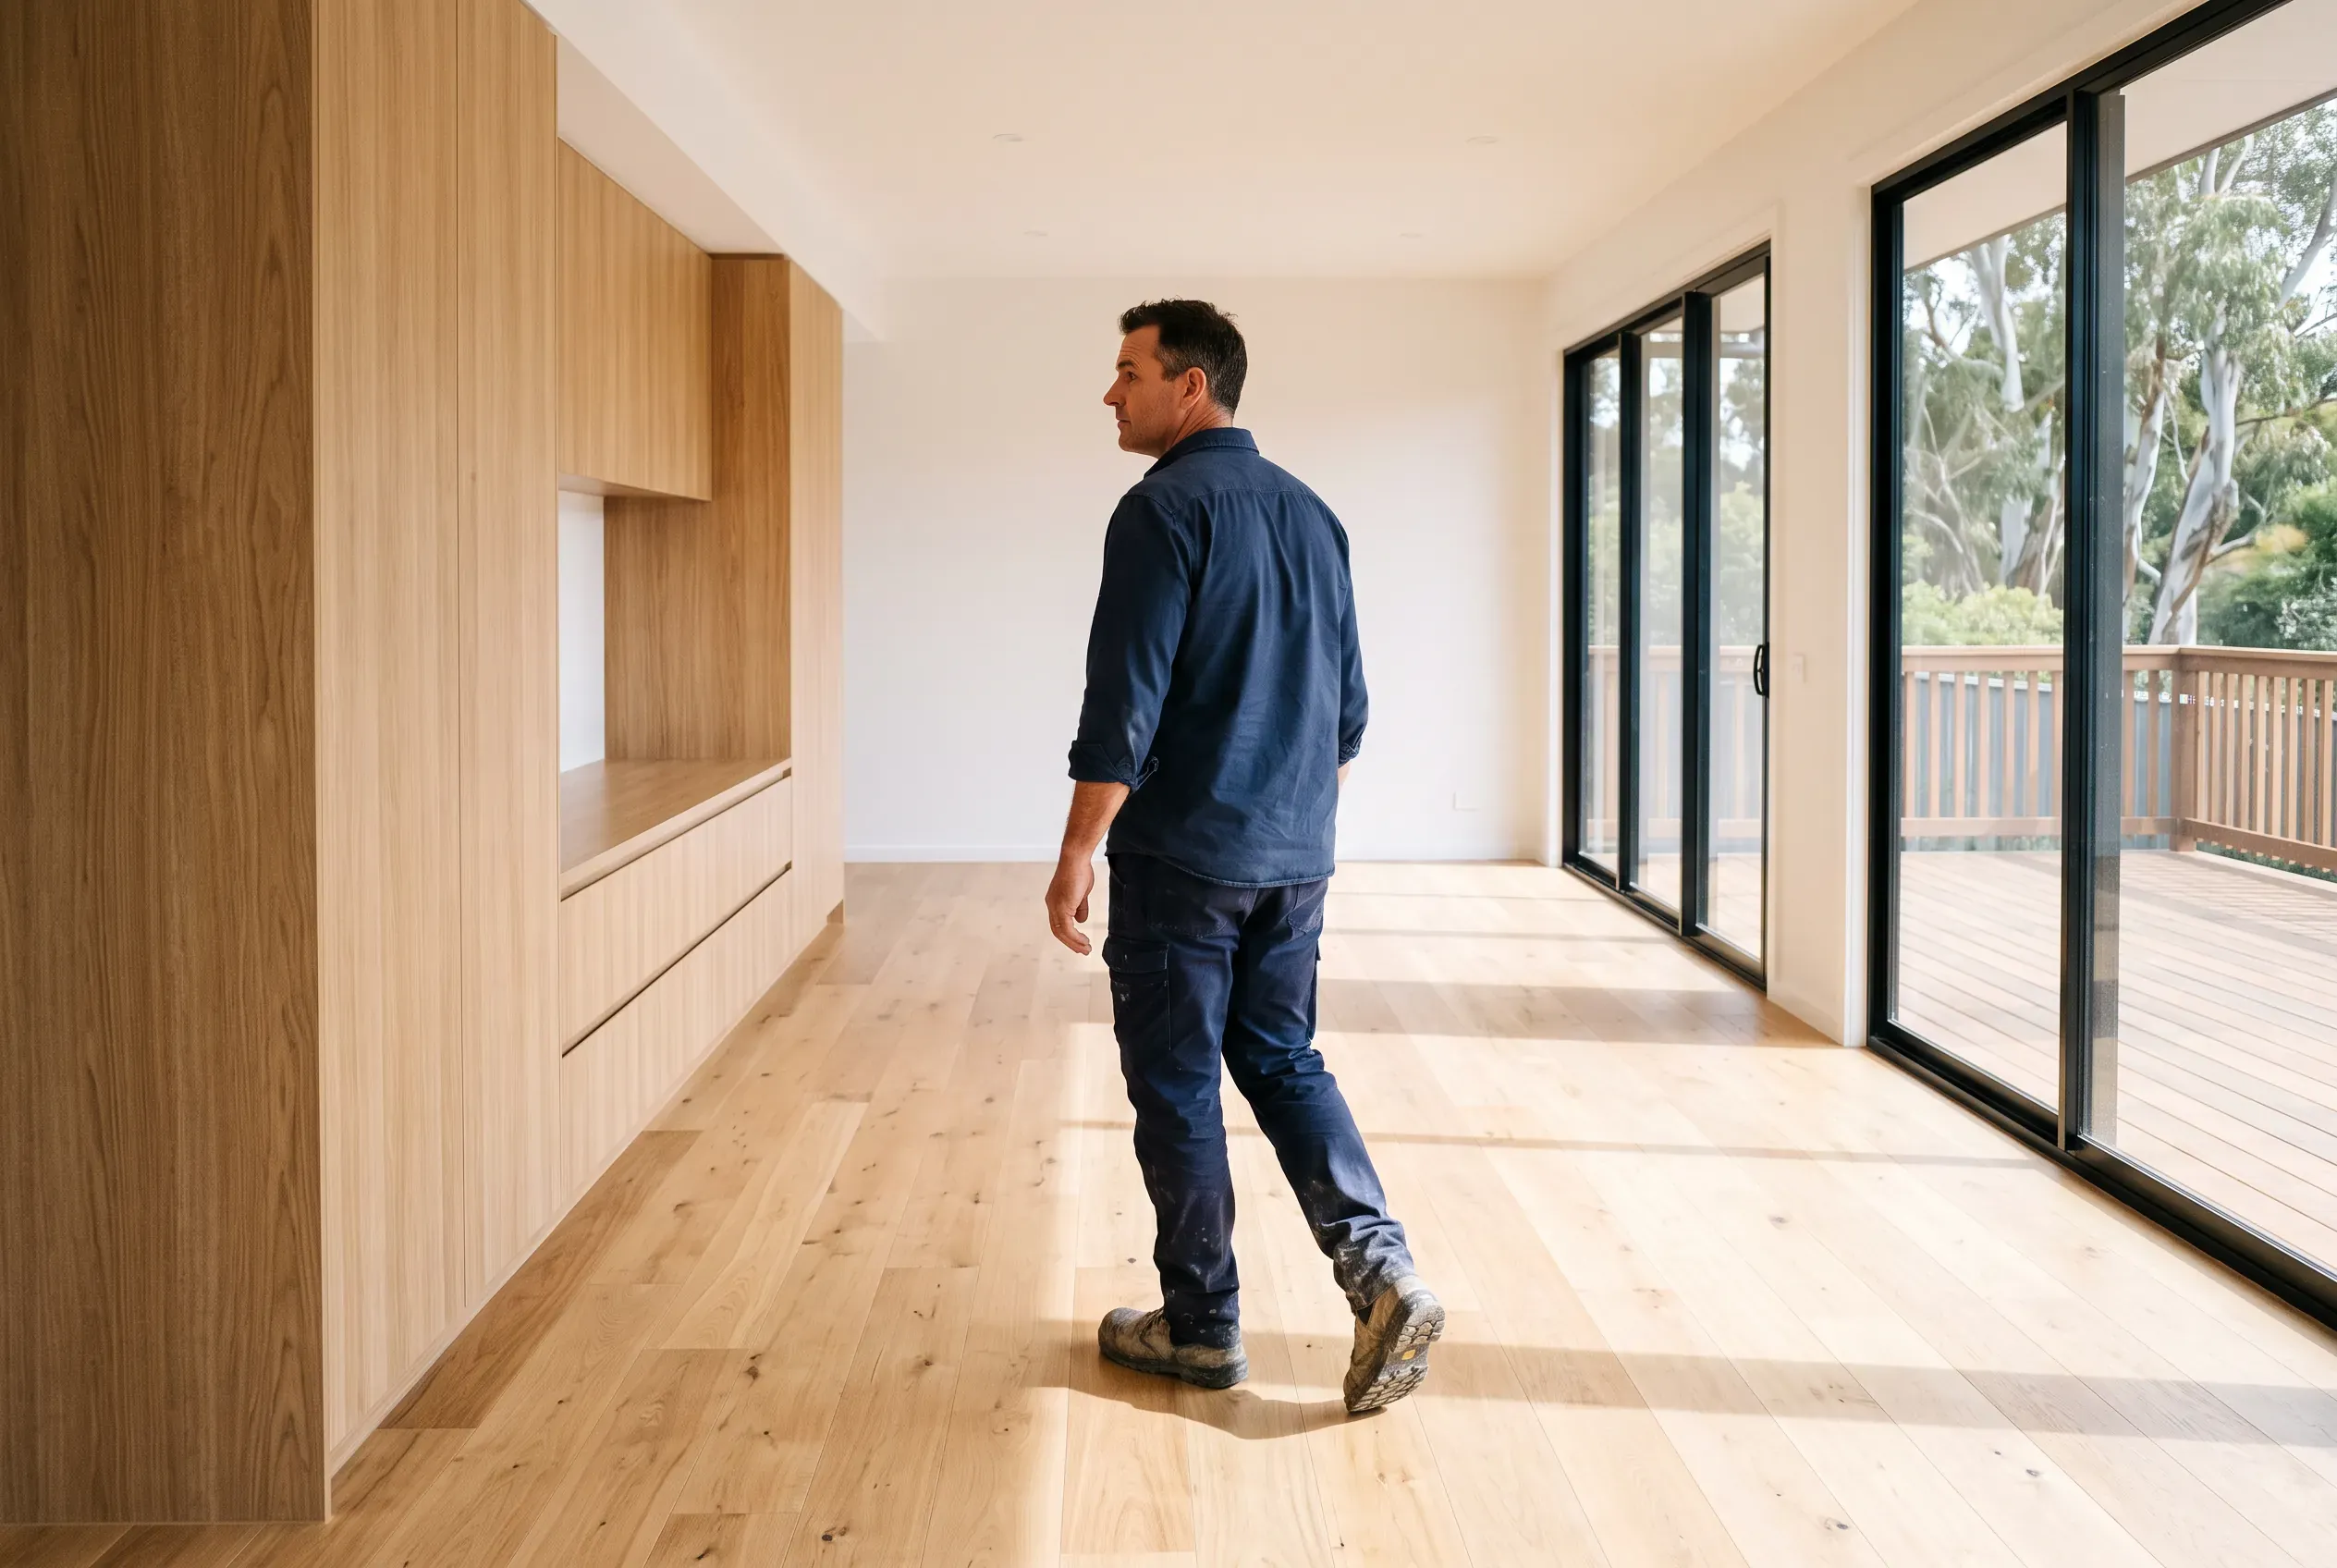
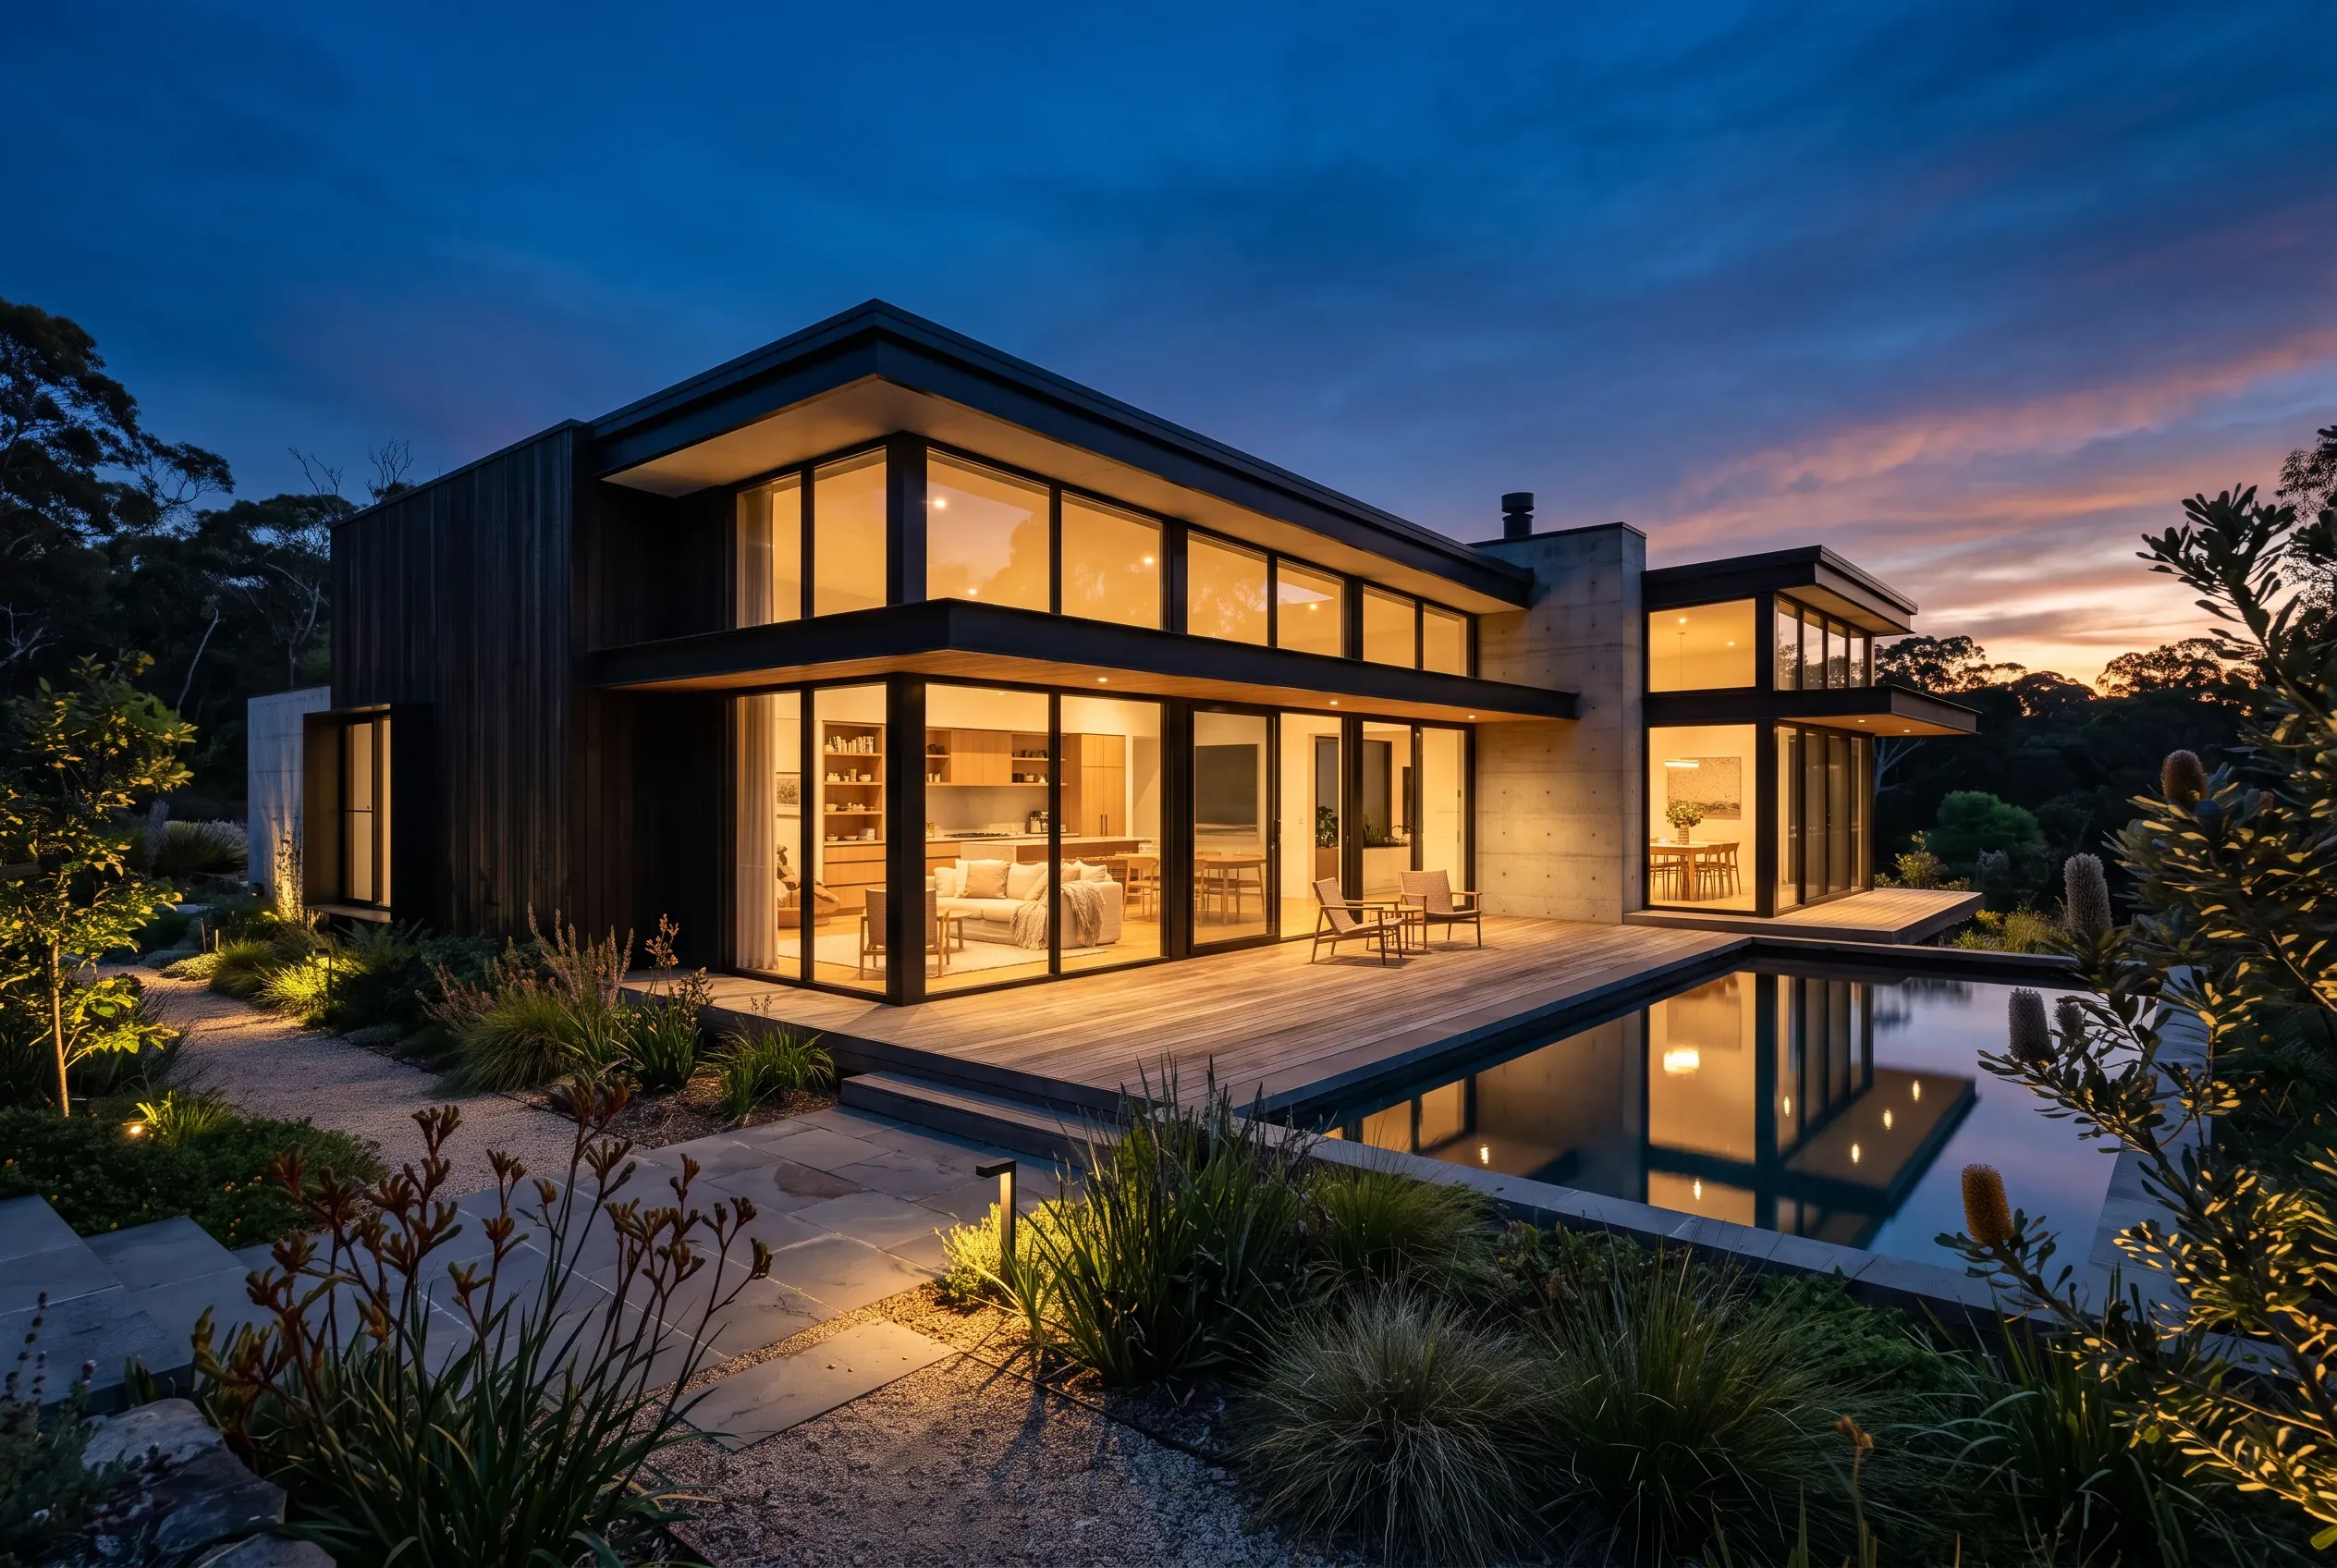
- Straight after completion, the house is clean, empty and exactly as designed. This window suits exteriors, architectural detail, joinery and pools.
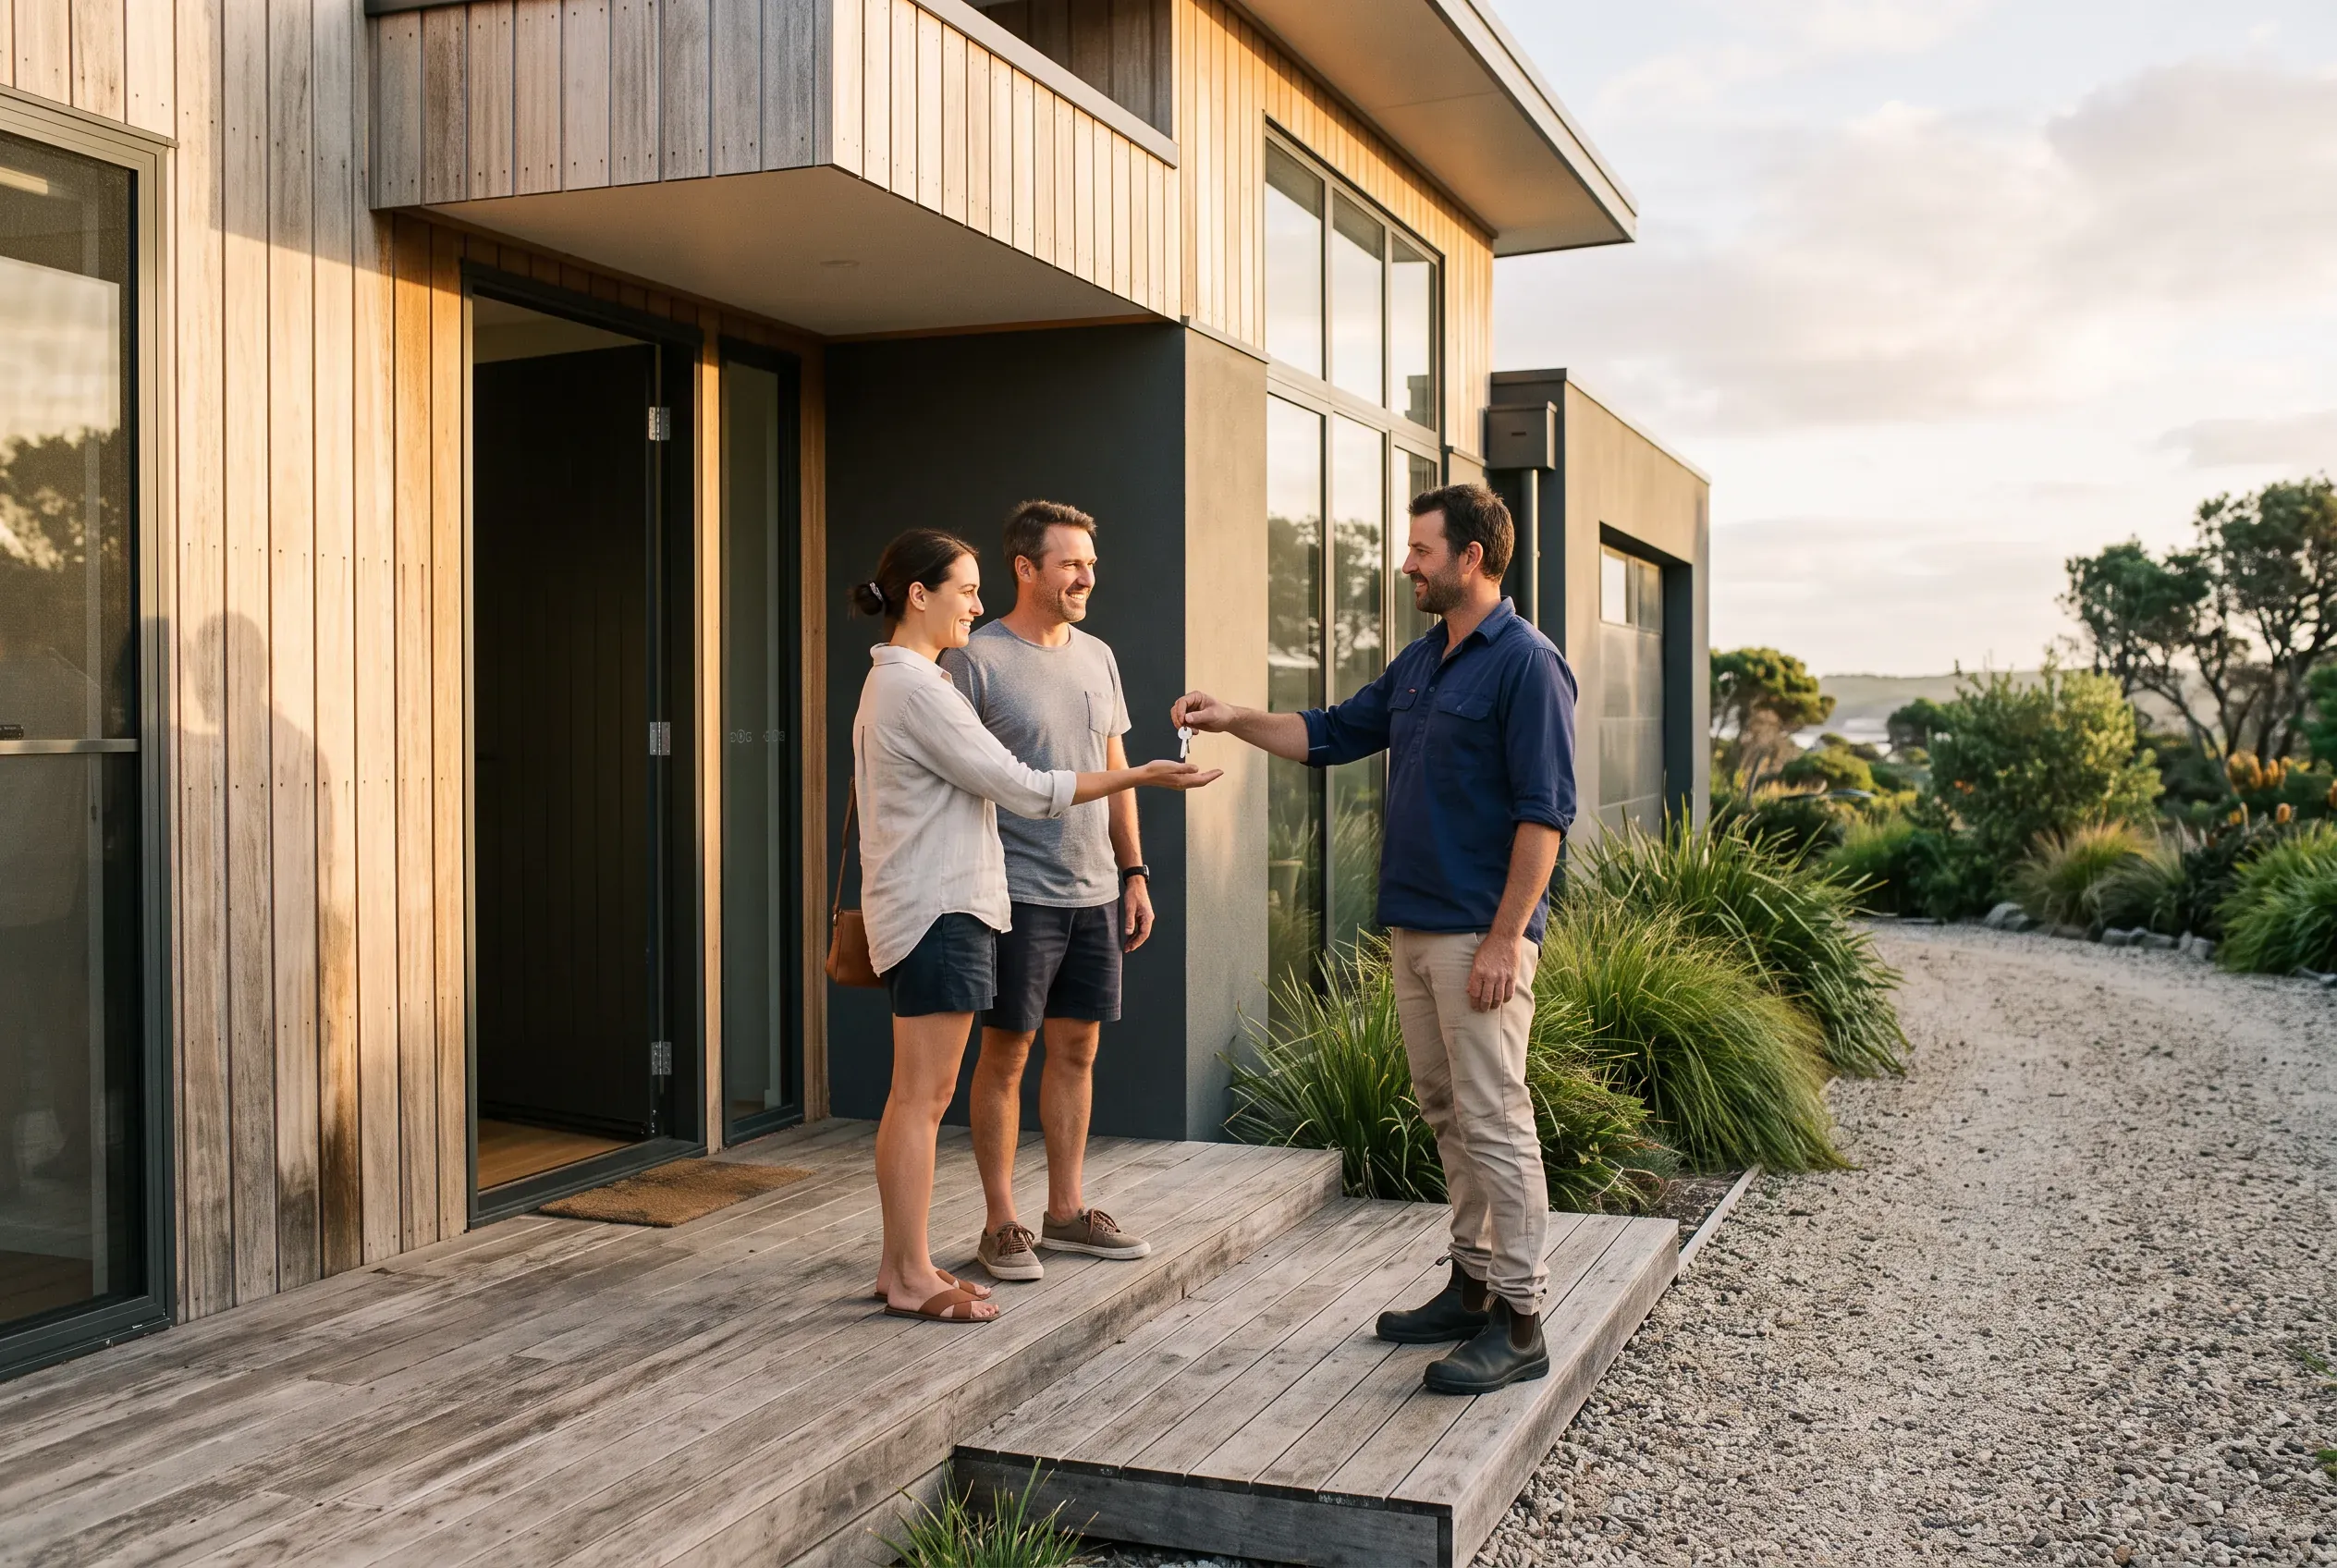
- After move-in, the rooms are furnished and the home looks lived in. Owners are often happy to appear in a shot or two, pets included, which adds life a staged set cannot match.
- A split covers both: exteriors and details shot fresh, interiors photographed once the furniture is in. Architects commonly run exteriors even later, giving new landscaping a season to establish.
Where a visit happens after move-in, pairing it with a follow-up on how the house is going makes the access easy and the visit worth the owners’ time.
What it costs
Typical Australian ranges, noting that rates vary by city and photographer:
| Shoot | Typical cost | Covers |
|---|---|---|
| Half day | $800 to $1,500 | Most single homes |
| Full day | $1,500 to $2,500 | Larger or more complex projects |
Expect three to six hours on site for most homes. Scope moves the price: the number of spaces, twilight frames, video alongside the stills, and how broad the licence is. Get a couple of quotes and compare what is included - the number of finished images and the licence terms - rather than the fee alone.
Choosing a photographer
Start with the people you already work with. Architects, designers and building consultants commission this photography regularly and will recommend someone good, and you may already know who shoots the strong local work. From there, check a photographer’s website and social accounts for their style, and ask what they have photographed in your area and where it was published.
When comparing candidates:
- Ask for whole projects, not a highlights reel. A complete set from one home shows how the awkward spaces were handled.
- Look for architectural work specifically. Photographing buildings well is a specialty: straight verticals, mixed light, whole rooms in one frame.
- Check the editing is natural. Overcooked HDR, unreal colours and over-sharpened detail undermine credibility. Accurate and clean beats dramatic.
Briefing the photographer
Most of what a shoot delivers is decided before the day. A complete brief covers:
- Project background. What the build is, the key design features, anything award-worthy. This tells the photographer what to prioritise.
- The shot list. Start from the list above, adjusted to the project.
- Timing. Golden hour flatters exteriors, overcast days suit interiors, and twilight frames need the schedule built around them.
- Styling. What furniture will be in place, and whether a stylist for the day is worth it. An empty home is harder to photograph well than a furnished one.
- Deliverables. How many finished images, formats for print and web, and the turnaround.
- Price and structure. By the project, the day or the finished image; all three are normal.
- The licence. Where the images can be published.
Expect the photographer to have views on timing, styling and the shot list. They do this work every week, and a brief that uses their judgement returns a better set than one that dictates every frame.
Licensing and permissions
Under Australian copyright law the photographer owns the copyright in the images; what the fee buys is a licence to use them in the ways you agree. Make sure the licence covers every place you plan to publish: website, social media, print, awards, advertising. This is general information rather than legal advice; the agreement you sign is what governs.
If no one else is commissioning one, running your own shoot gives you full control of the brief, the timing and the licence.
The owners’ permission is the other item to sort early, ideally while the build is still under way. It is their home. Explain what you would like to publish and where, and shape the shoot around their answer. Many owners are pleased to see the house published; where they want privacy, a set built on details, materials and partial views still shows the standard of the work.
Preparing for the shoot day
Before the photographer arrives:
- Close the site out. Protective film off, trade equipment gone, glass and floors cleaned, bins and vehicles off the street.
- Styling in place. Whatever the brief agreed: the owners’ furniture, a stylist’s work, or a few pieces brought in.
- People available, if wanted. Someone in a couple of shots adds scale and warmth, and the photographer will direct them.
The photographer will schedule the day around the sun, east-facing rooms in the morning and west-facing in the afternoon, with twilight frames at the end if they were agreed. Be prepared to move the date if the weather is wrong; a reschedule costs far less than a set shot under a grey sky. And expect the work to be unhurried - a photographer moving carefully through each space delivers a better set than one firing off hundreds of quick frames.
Editing standards
Every professional set is edited: light balanced, verticals straightened, colours graded. Photographers have their own signature looks, so agree the style up front - warm and natural, bright and airy, dark and dramatic - using their existing work as the reference for what you will receive.
Agree the limit as well. Removing a bin from a driveway or a car from the street is normal tidying. Altering the building itself - materials, finishes, proportions - is not, because clients will stand in the finished work expecting what the photographs showed.
Photography to handle yourself
Smartphone photography
Phone photography is the right tool for progress updates to clients, day-to-day social content, internal records of construction quality, and smaller jobs where a paid shoot is not justified. It is not a substitute for the completion set that anchors a project page or an award entry; the gap shows most in mixed light and straight verticals.
For the jobs it suits, a few practices lift the results:
- Shoot in good natural light wherever possible.
- Turn on the grid and level, and square up the frame.
- Tap to lock exposure, so a run of shots through one space comes back evenly lit.
- Use night mode in dim rooms, with the phone rested on something solid.
- Keep the ultra-wide lens for tight spaces only; it stretches whatever sits near the edges.
- Clean the lens. A smudged lens is the most common cause of poor site photos.
- Capture in RAW if you edit, for far more room to adjust.
Time-lapse
A long build is worth a time-lapse. Mount a good-quality action camera, a GoPro or similar, somewhere with a clear view of the site; run it from mains power with a large memory card, set it to shoot a frame every few minutes, and check on it periodically. The result is the whole project in a short video: strong material for the website, and a handover gift owners keep.
Drone work
Business drone flying sits under CASA’s commercial rules, which are stricter than recreational flying: the drone must be registered whatever its weight, the pilot needs operator accreditation or a remote pilot licence, and flights are limited on height, distance from people, line of sight and location - a residential street counts as a populous area.
Building the archive
A photography library is only as useful as its organisation. After every shoot:
- One folder per project, holding originals and finished images.
- The licence terms saved in the same folder, not left in an email thread.
- Everything in cloud storage with a backup.
- Folders named by project and year, so anyone in the business can find them.
The payoff comes at short notice: an award deadline, a tender wanting recent comparable work, a client asking to see something like their own job. Over time the archive becomes the fullest record of the business: every project, photographed at its finished best, ready whenever it is needed.
Frequently asked questions
When is the best time to photograph a finished project?
What does professional construction photography cost?
How long does a shoot take?
Who owns the images once the shoot is paid for?
Can I use the photographs my client's architect commissioned?
Do I need the owners' permission to publish photos of their home?
How we can help
Modern websites, brand identity, visual assets, and content - built to help your business get found and look the part.
- 01
Get in touch and
tell us what you need. - 02
Review where you are
and what is holding you back. - 03
Get a clear proposal
with scope and pricing.
No obligation, no hard sell.
Based in Northern NSW · Australia-wide
Message sent
Thanks, your message is on its way. We read every enquiry personally and will be in touch soon.